TL;DR. Polygel is a thick paste that combines acrylic powder and gel. It stays soft and workable until it is cured under an LED or UV lamp, so you can take your time shaping it. It is used for overlays on natural nails and for extensions, often with dual forms. Polygel usually needs a fill or new set every 2 to 3 weeks. It is mostly removed by filing, not by soaking like gel polish. Like other gels and acrylics, it can cause skin allergies if uncured product touches the skin.
What is polygel?
Polygel is a nail enhancement product that sits between acrylic and gel. It comes as a thick paste, usually in a tube. It contains acrylic-type powder mixed into a gel, so it has some of the strength of acrylic and the easy handling of gel.
Unlike acrylic, there is no liquid and powder to mix, and it does not have the strong smell of acrylic liquid. Unlike most gels, it does not run or level itself. It stays where you put it and only hardens when it is cured under a lamp. To shape it, technicians dip a brush in a slip solution, usually an alcohol-based liquid, so the paste does not stick to the brush.
Polygel is often called hybrid gel or acrylic gel. Several brands make it, and each one has its own instructions for the lamp and curing time.
Polygel vs acrylic vs hard gel and builder gel
- Acrylic. Built from a liquid monomer and a powder that harden in the air. It is very strong and suits long, hard-wearing sets, but it has a strong smell and sets quickly, so the technician has to work fast. Polygel is usually lighter and has much less smell.
- Hard gel. Thick, very strong gel that is cured under a lamp and filed off rather than soaked. It is more fluid than polygel, so it partly levels itself.
- Builder gel. A thick gel used to strengthen natural nails and add a little length. Many builder gels soak off. Polygel is thicker and better at holding a shape for longer extensions. Our guide to gel polish vs builder gel explains the gel side in detail.
- Soft gel extensions. Pre-shaped full-cover tips bonded with gel. They need less sculpting than polygel. See our soft gel extensions guide.
For a full side-by-side of the two most common options, see our gel vs acrylic nails comparison.
Polygel looks to try
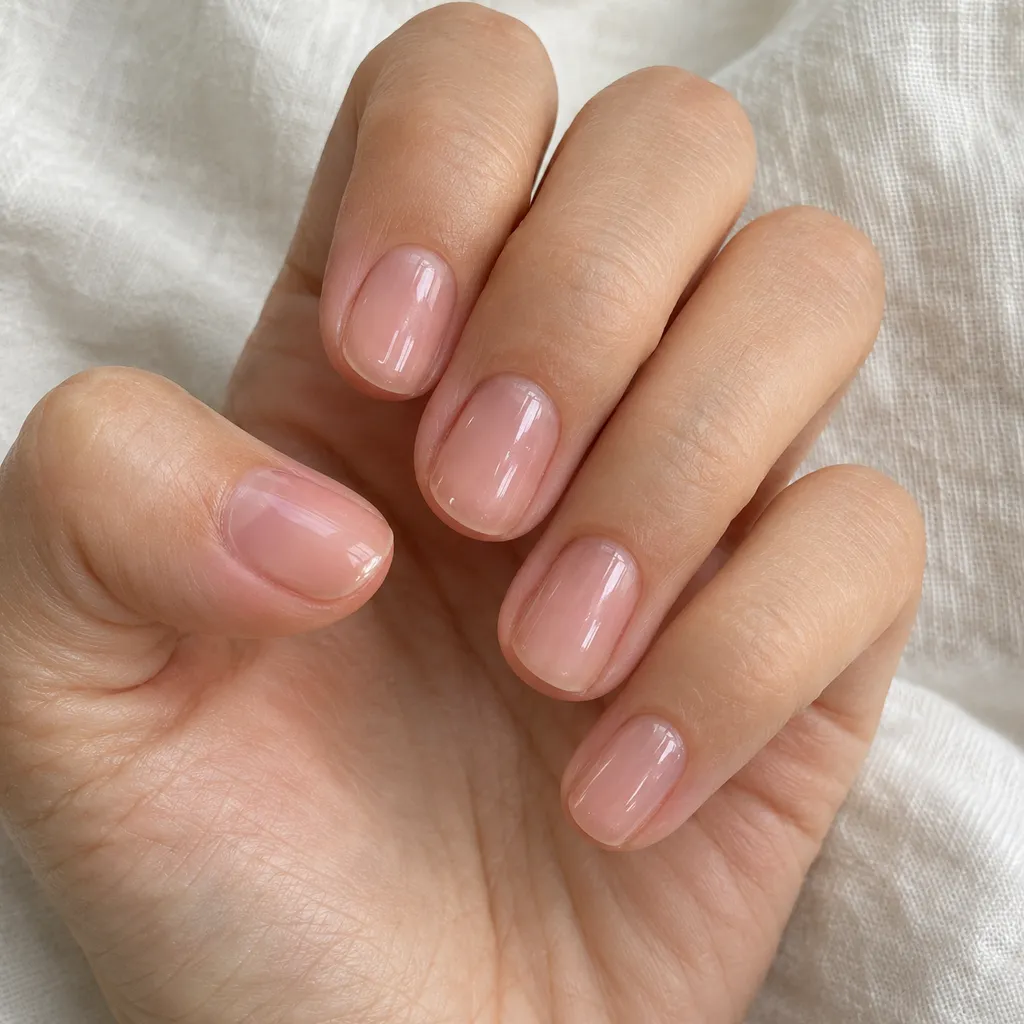
- Natural polygel overlay. A thin layer of clear or sheer pink polygel on short natural nails, finished glossy. It adds strength without adding much length.
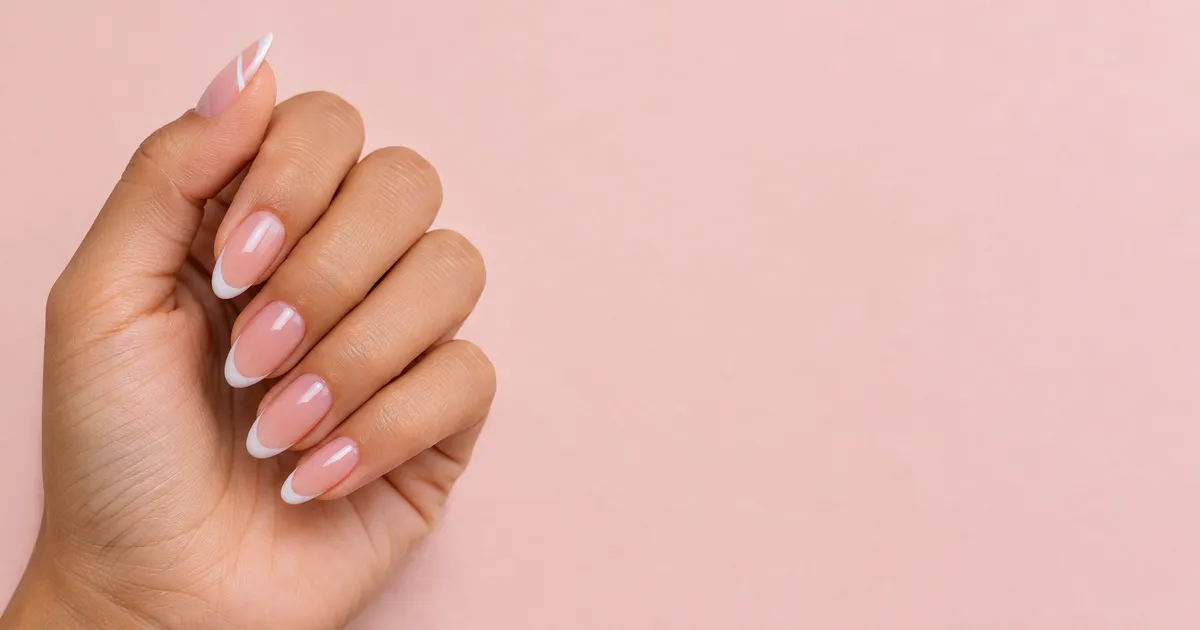
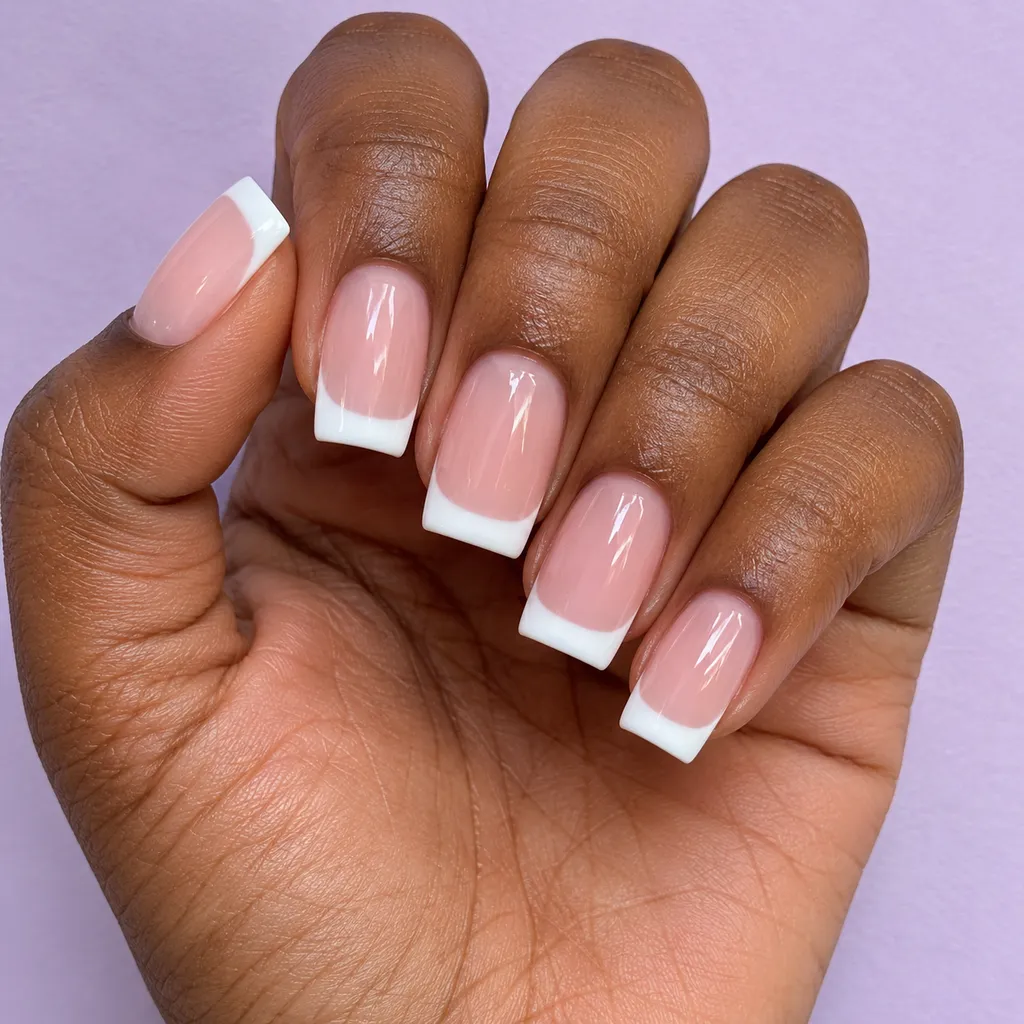
- Polygel extensions with a French tip. Medium almond or square extensions in sheer pink, with a crisp white tip. Some polygels come in white, so the tip can be built into the form.
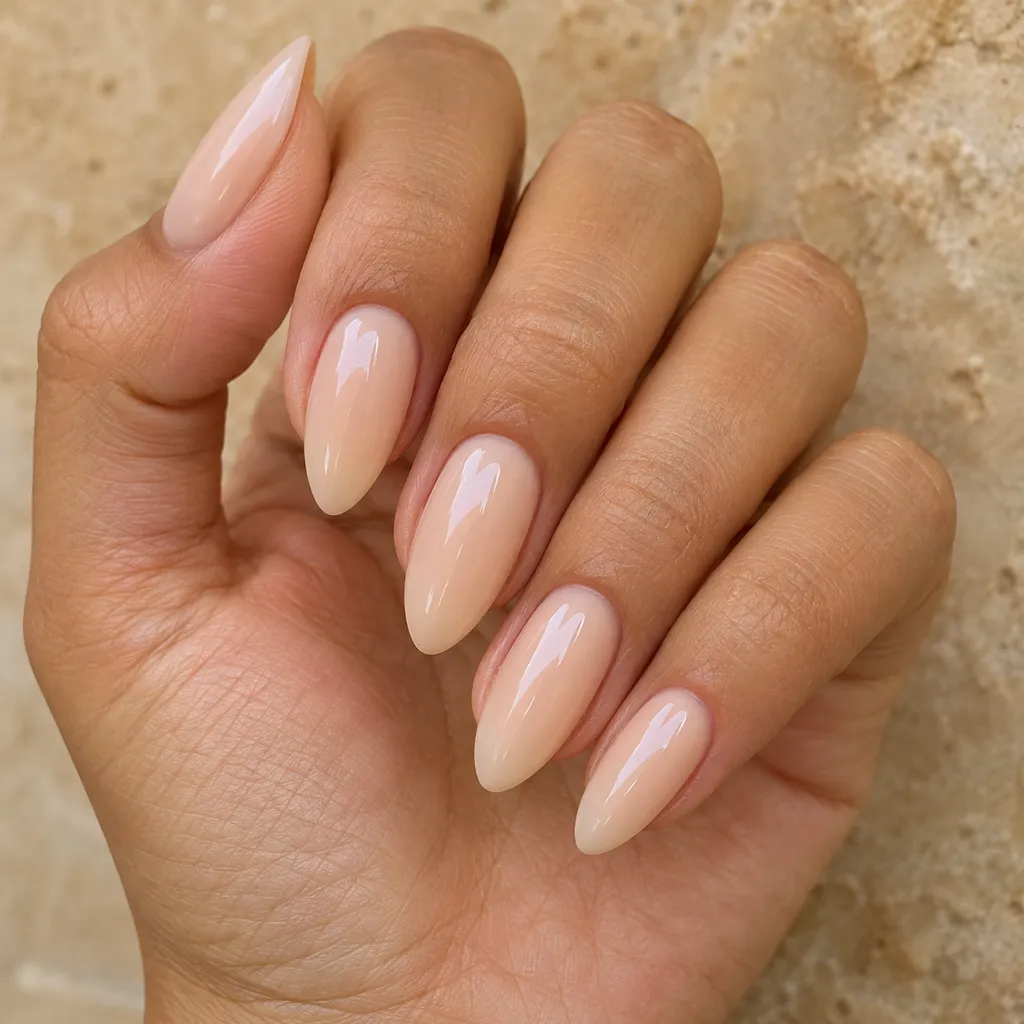
- Milky nude almond. Medium almond extensions in a milky nude polygel with no extra color. Clean and easy to match with any outfit.
- Short square in soft beige. Short square polygel nails in a soft beige or camouflage pink. Strong enough for daily tasks and quick to fill.
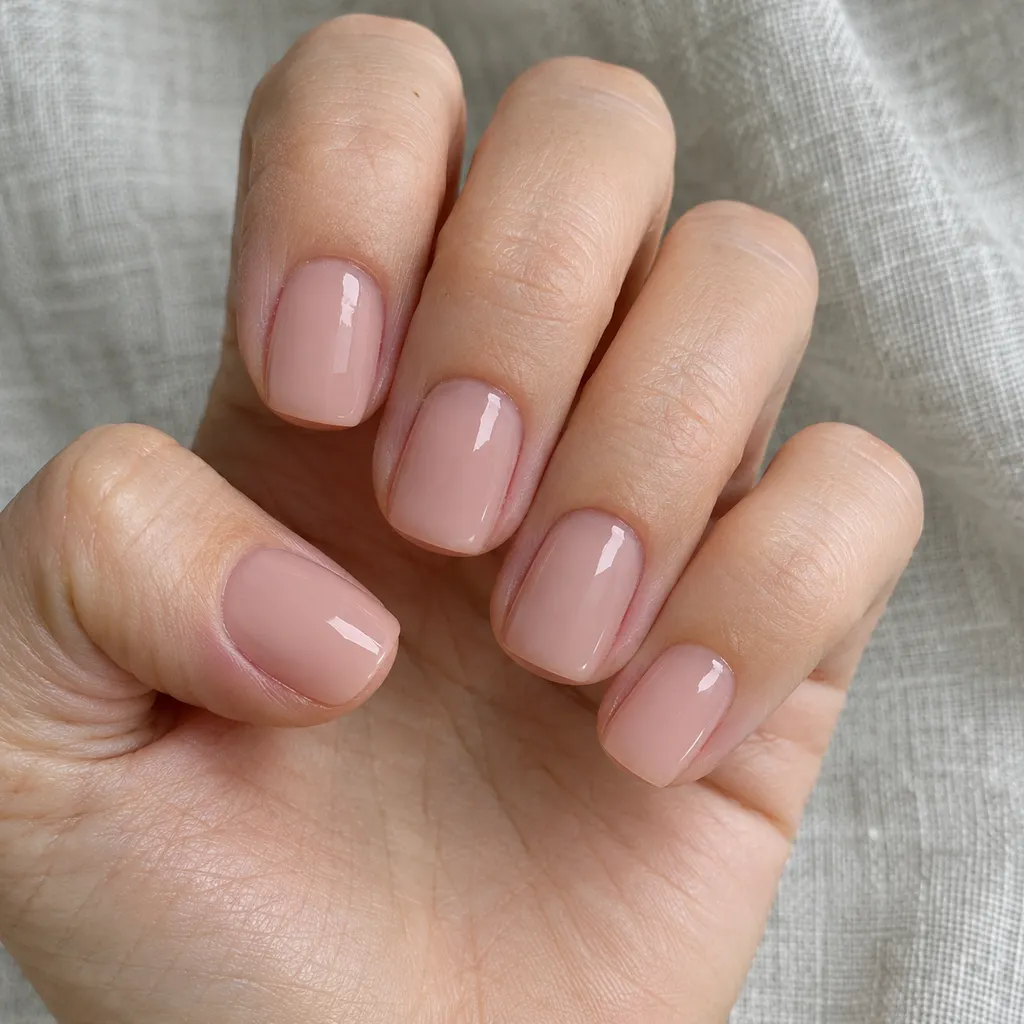
For tip ideas, see our French tip variations. Any gel polish color or nail art can go on top of polygel once it is shaped.
How polygel extensions are applied with dual forms
Dual forms are clear, reusable plastic molds shaped like a nail. The polygel goes inside the form, and the form is pressed onto the natural nail. This is the most common way to build length with polygel.
- Prep the nail. Push back the cuticle, remove dead cuticle from the nail plate, shape the free edge and lightly buff off the shine. Wipe with a cleanser or dehydrator.
- Apply a primer and base. Use the bonding primer and base coat that the brand recommends, and cure the base.
- Choose a form. Pick a dual form that fits each nail from sidewall to sidewall.
- Fill the form. Squeeze a small bead of polygel into the form. Use a brush lightly dampened with slip solution to spread it thin near the cuticle area and thicker toward the tip.
- Press it on. Press the form onto the nail at an angle so no air is trapped. Clean any product that has squeezed onto the skin before curing.
- Cure. Cure under the lamp for the time the brand gives. Some technicians flash cure for a few seconds first, then cure fully.
- Pop off the form. Twist the form gently from the side to release it.
- Shape and finish. File the shape and refine the surface. Wipe off any sticky layer, then add color or a top coat and cure again.
Polygel overlay on natural nails
If you only want stronger nails, polygel can go straight on the natural nail with no forms. After the same prep, primer and base, a small bead of polygel is placed in the center of the nail and spread toward the sides and the cuticle with the slip-dampened brush. It is then cured, filed smooth and finished.
The aim is a thin, even layer with a gentle arch. Too much product near the cuticle looks bulky and lifts sooner. If you use polygel at home, keep the layer thin, do not let it touch the skin, and follow the curing time for your lamp. Our gel manicure at home guide covers prep and lamp basics.
How long polygel nails last
Polygel usually lasts 2 to 3 weeks before it needs a fill. By then, new growth shows at the cuticle and the shape is less balanced, which puts more stress on the nail. A fill, also called a rebalance, files down the old product and adds new polygel at the base. Many people keep a set going with fills for several rounds before a full removal.
Wear time depends on prep, your nail growth and how hard you are on your hands. Lifting near the cuticle is the most common problem. It usually comes from oil left on the nail, product touching the skin, or a layer that is too thick at the base.
How to remove polygel nails
Polygel does not soak off quickly like soak-off gel polish. Most of it has to be filed down. Never pry, peel or bite it off, because it can pull away layers of your natural nail.
- Clip the length. Trim extensions down close to the natural free edge.
- File the bulk. File the top layer and most of the polygel, working in light strokes. A technician may use an e-file. Stop when only a thin layer is left.
- Remove the last layer. Some polygels soften in acetone with a longer soak, so the thin layer left can be soaked with the foil method and eased off. Otherwise, buff it off gently.
- Oil and rest. Wash your hands, then apply cuticle oil and hand cream.
Filing down to a thin layer without touching the natural nail takes practice, so a salon removal is the safest option. Our guide on how to remove acrylic nails explains filing and soaking in more detail. If your nails feel thin afterward, read about repairing damaged nails.
Pros, cons and allergy caution
- Pros. Strong but lighter than acrylic. Little smell. No time pressure while shaping, because it does not set until cured. Works for overlays and extensions.
- Cons. Needs a lamp and slip solution. The paste can be sticky and takes practice to spread evenly. It is filed off rather than soaked, which takes time and skill. Prices are often similar to acrylic or gel extensions.
Polygel contains acrylates, the same family of ingredients found in gel and acrylic. Repeated contact with uncured product can lead to an allergy. Keep it off the skin, cure every layer fully with a lamp that suits the product, and never wipe polygel off a brush with your fingers. If you notice itching, redness, swelling or blisters around your nails, stop using the product and see a doctor or dermatologist.
Preview your polygel set before you book
Length and shape make a big difference with extensions. In the CutieCure app, you can design your own nails by describing a look, such as medium almond extensions in sheer pink with a white French tip. The AI generates it on a photo of your own hand in a few seconds, so you can compare shapes and save the one you like to show your technician.
Frequently asked questions
Is polygel better than acrylic?
Not better, but different. Polygel is usually lighter and has little smell, and it does not set until cured. Acrylic is very strong and suits very long sets. Both are filed during fills and removal.
How long does polygel last?
Polygel usually lasts 2 to 3 weeks before it needs a fill. With regular fills, a set can be kept going for several rounds.
Can you soak off polygel?
Not easily. Polygel is mostly filed down. Some brands soften in acetone with a long soak, so the last thin layer is often soaked off after filing.
Do you need a UV lamp for polygel?
Yes. Polygel only hardens under an LED or UV lamp. Use the lamp type and curing time the brand recommends.
Is polygel bad for your nails?
Most damage comes from heavy filing, prying it off or poor prep, not from wearing it. Allergy is the other risk, so keep uncured product off the skin. Gentle removal and breaks between sets help.
Try polygel shapes on your hand
Free to download. Describe a polygel overlay or extension look in CutieCure and see it generated on a photo of your own hand before your appointment.
Download CutieCure Google PlayRelated guides
Related free tools
- Gel or acrylic quiz: Recommends gel, acrylic or builder gel from the length you want, your lifestyle and your nail health.
- Gel and acrylic fill schedule: Shows when your next gel polish, builder gel (BIAB) or acrylic appointment is due, usually every 2 to 4 weeks.