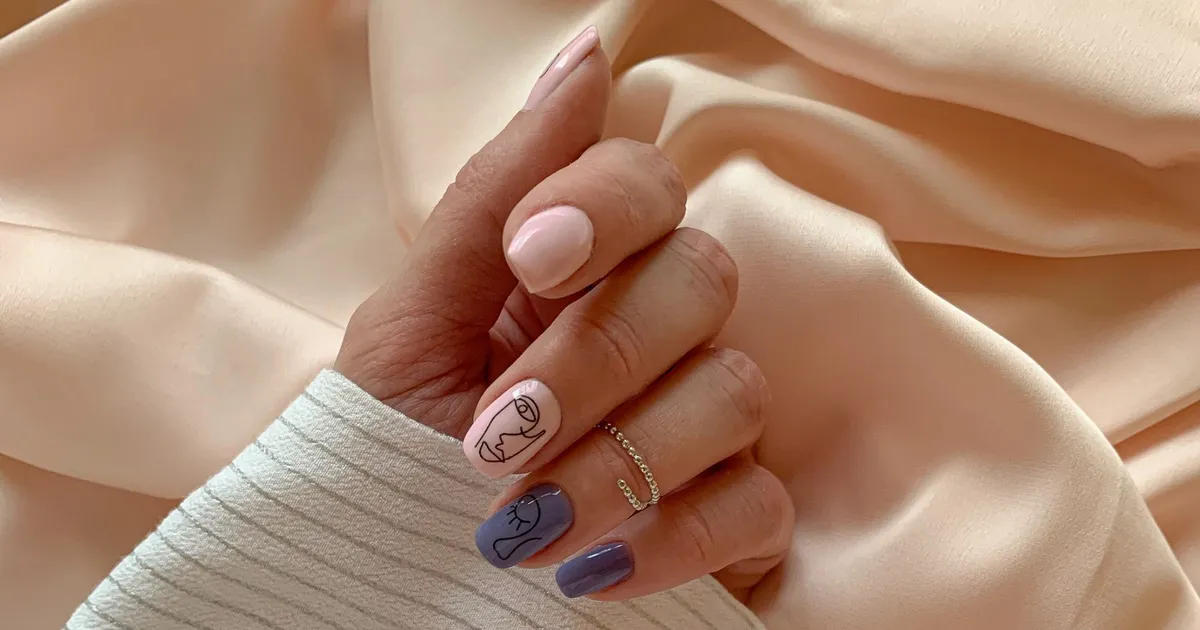
TL;DR. Ombre nails fade smoothly from one color into another, usually from the cuticle to the tip. Baby boomer nails are the pink-to-white version, a softer take on the French manicure. Salons create the fade with airbrush, acrylic or dip powder, or by blending gel with a brush. At home, a makeup sponge and regular polish work well. Gel ombre usually lasts 2 to 3 weeks, while regular polish often lasts several days to about a week.
What are ombre nails?
Ombre means shaded. On nails, it is a smooth gradient from one color to another with no hard line between them. Most ombre runs from the cuticle to the tip, usually lighter at the base and stronger at the free edge.
There are two other versions. A side or vertical ombre fades from one side of the nail to the other. A gradient manicure puts a slightly different shade on each nail, so the color changes across the hand. All three are often called ombre.
Baby boomer nails: the pink-to-white ombre
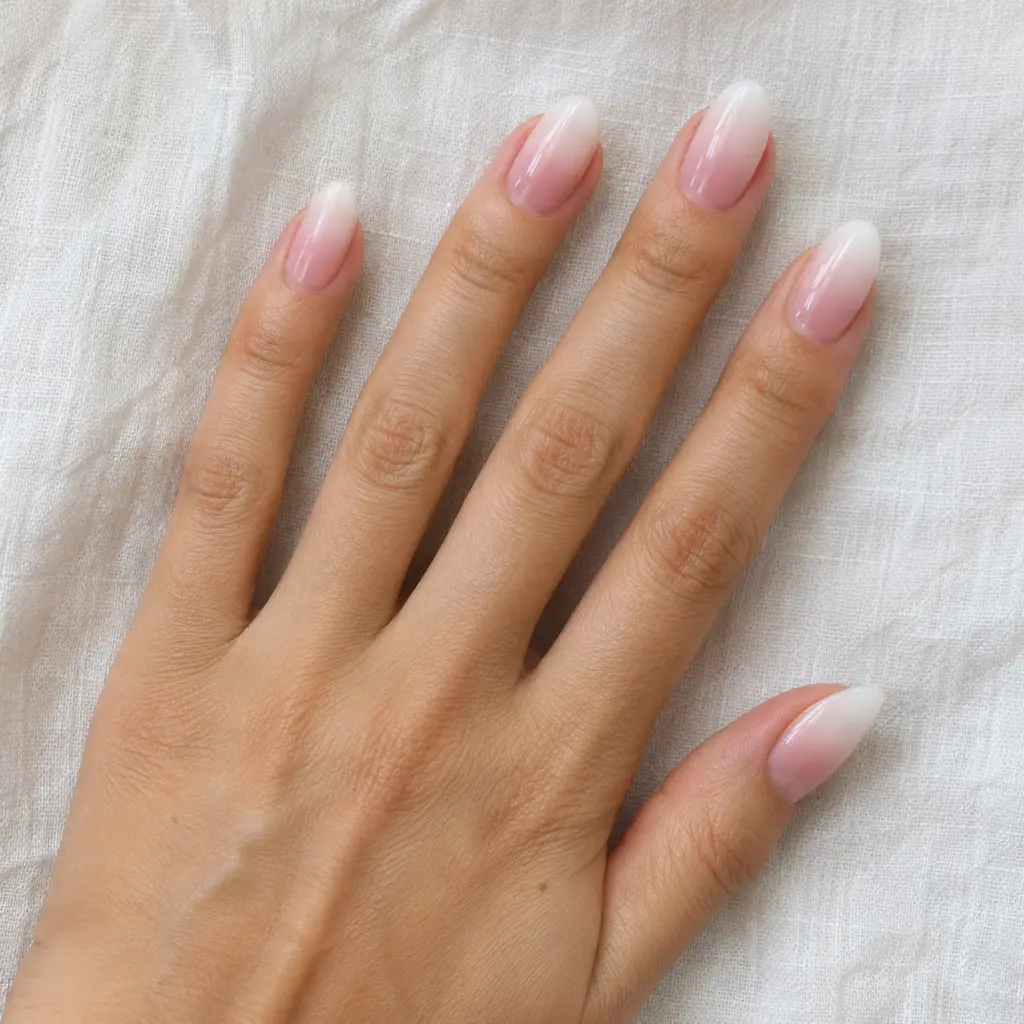
Baby boomer nails are an ombre French manicure. The nail starts sheer pink or nude at the cuticle and blends into soft white at the tip. Instead of a sharp smile line, the white simply fades in.
This makes baby boomer nails very easy to wear. There is no line to look uneven, nails tend to look longer, and the sheer base hides regrowth for longer than a solid color. They are often requested for weddings and other events. For more tip styles, see our French tip variations.
Ombre nail ideas: color combinations to try
- Baby boomer. Sheer pink into milky or soft white. The classic, and the most subtle.
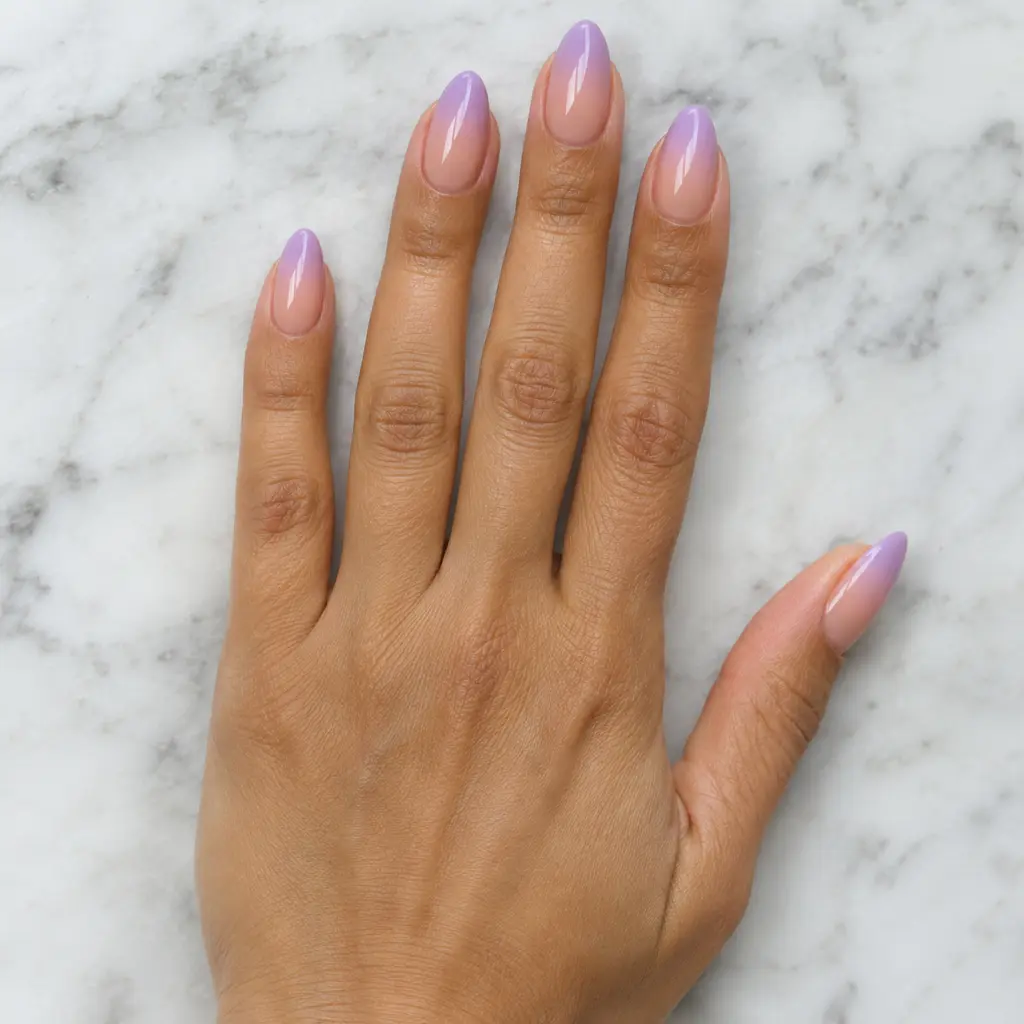
- Nude to color. Your nude at the cuticle fading into a color at the tip, such as red, navy or lilac. A gentle way to wear a bold shade.
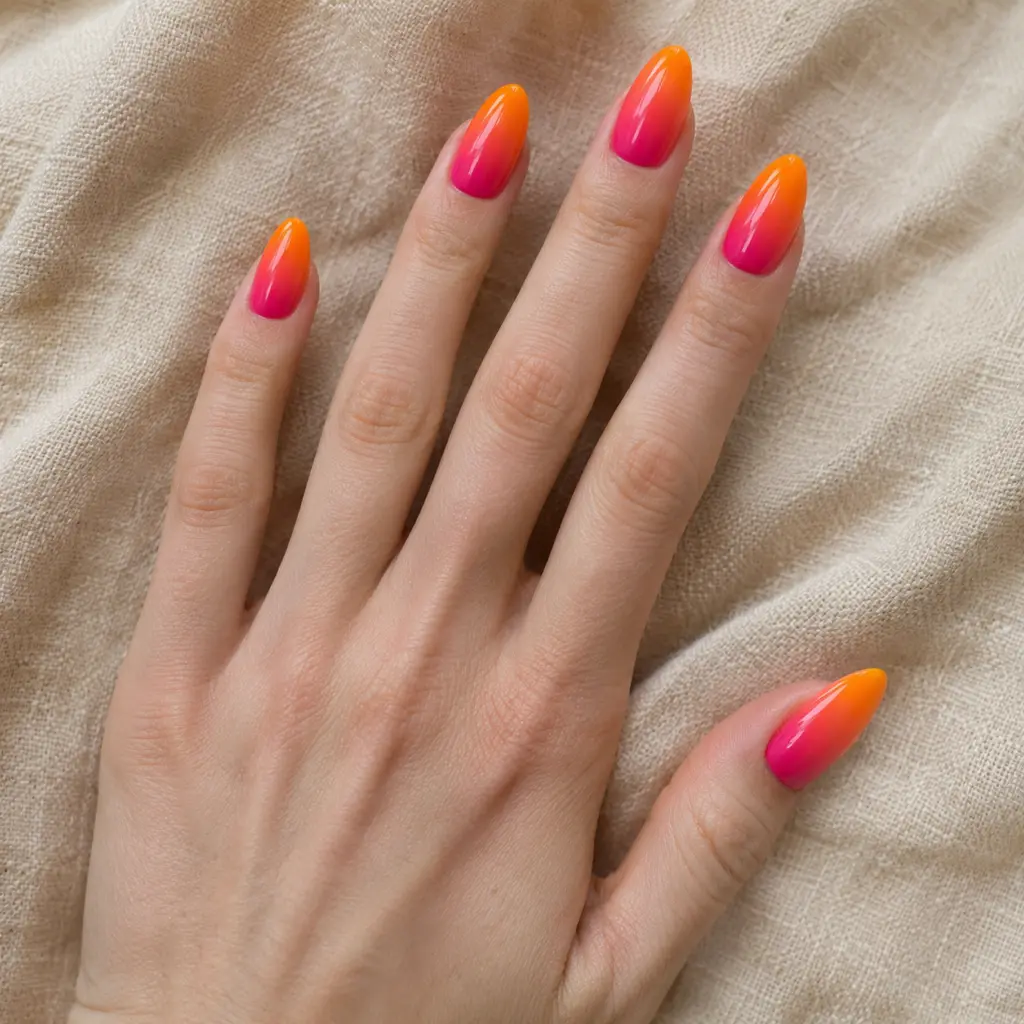
- Two brights. Two bright colors that sit near each other on the color wheel, such as pink and orange or blue and purple. They blend without turning muddy.
- Vertical or side ombre. One color down one side of the nail, fading into another on the other side. It looks modern on long nails.
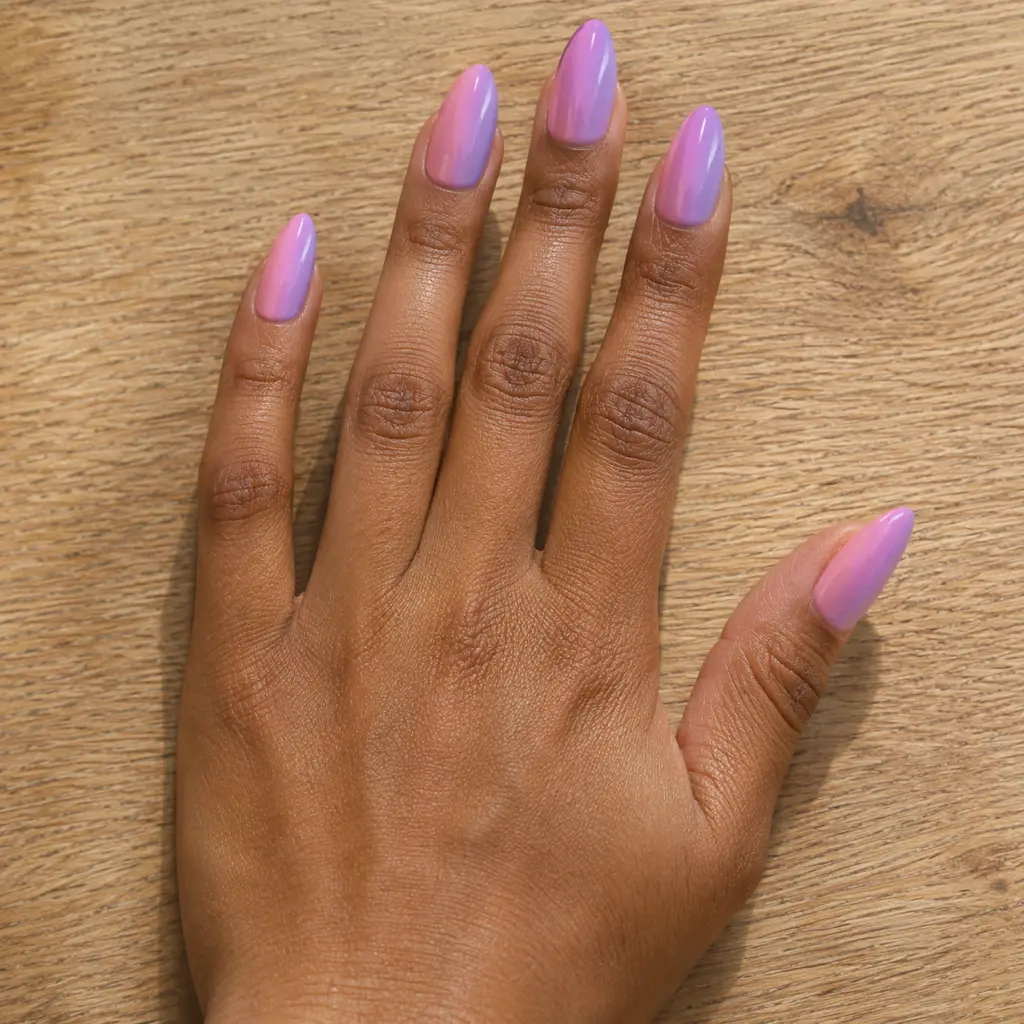
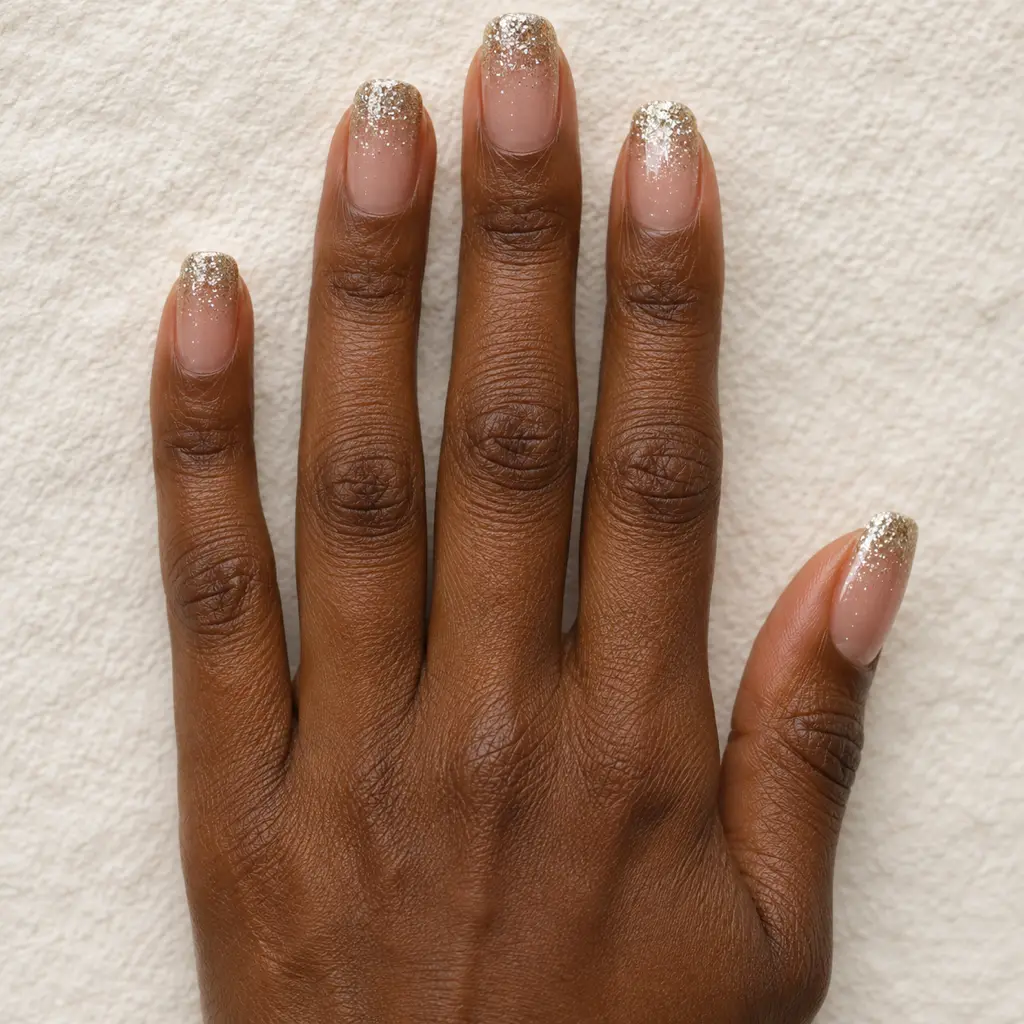
- Glitter fade. Dense glitter at the tip thinning out toward the cuticle. Easy at home and great for the holidays. See our glitter nails ideas.
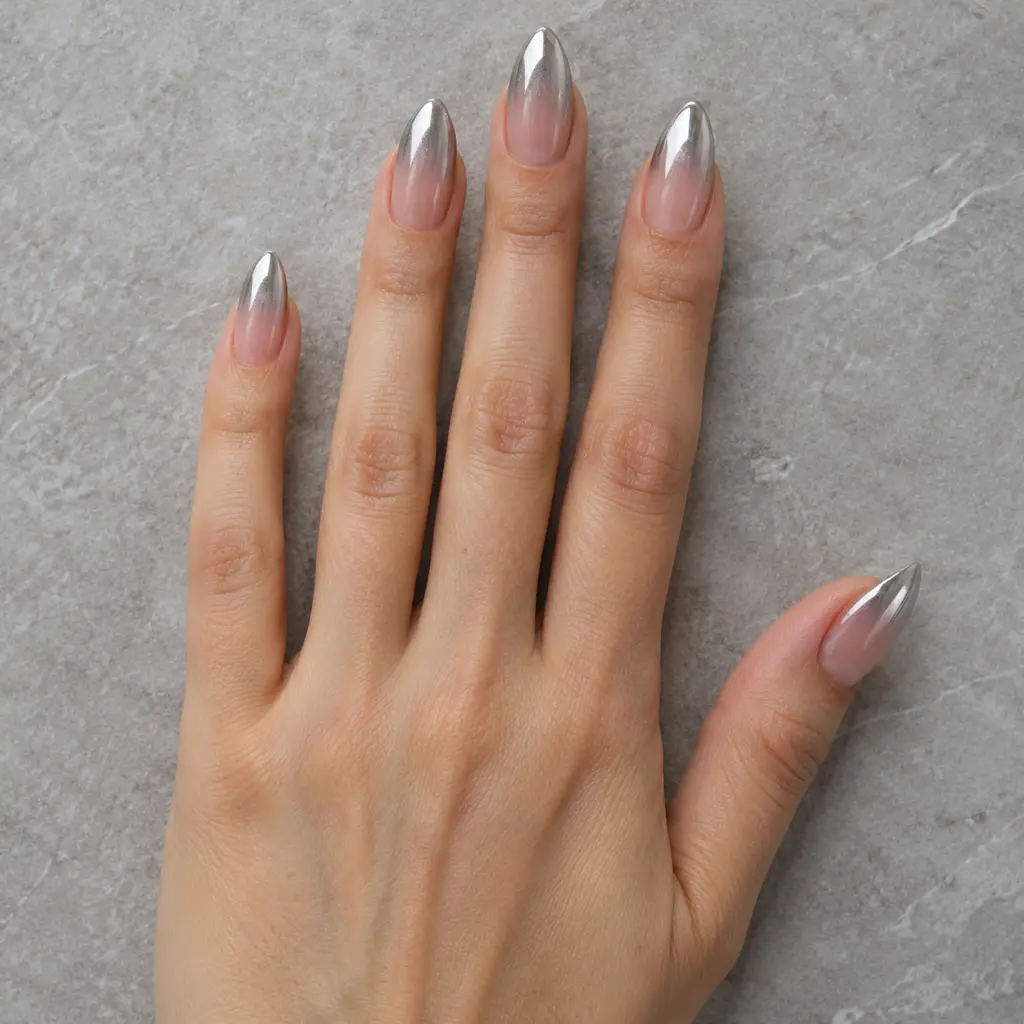
- Chrome ombre. A sheer base that turns metallic toward the tip, with chrome powder buffed only onto the outer part of the nail. It needs a gel base.
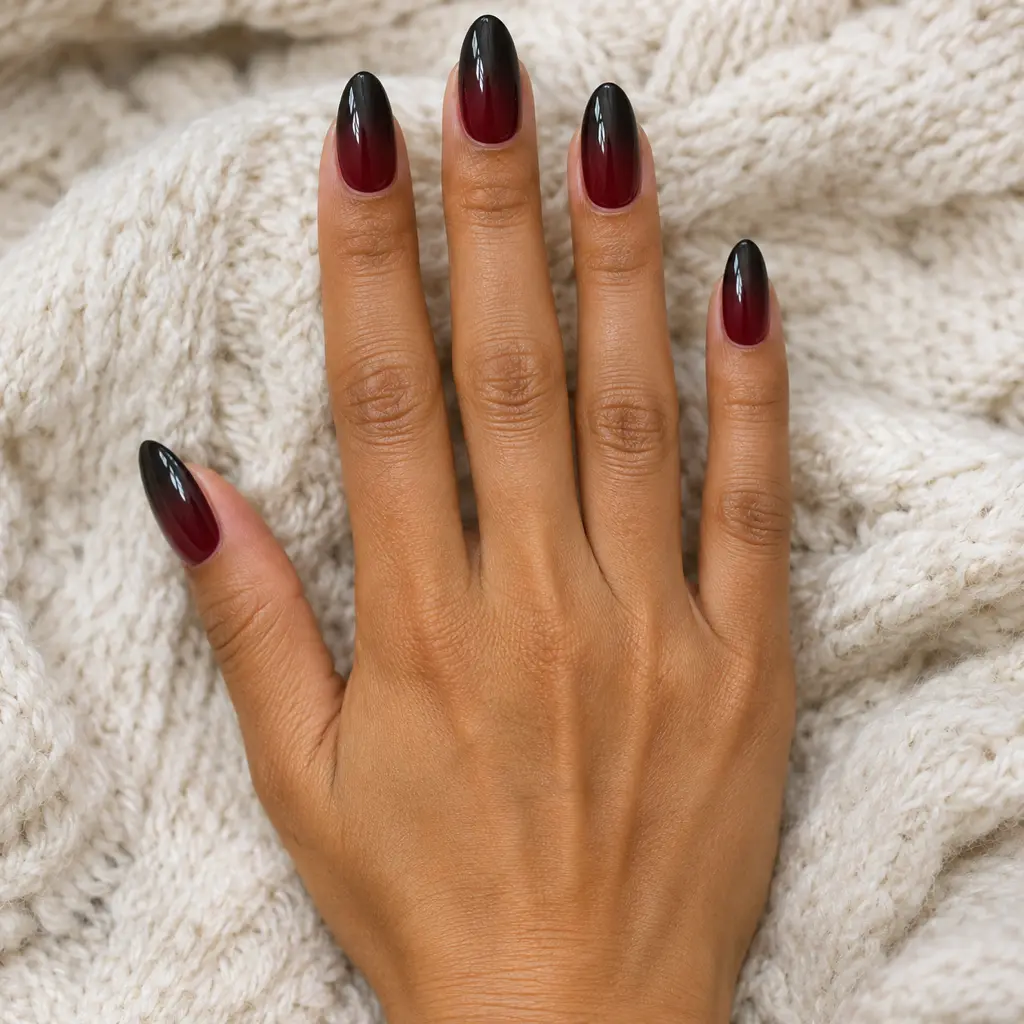
- Dark ombre. A deep shade like burgundy or forest green fading into black. Good for fall and winter.
Two colors that suit your undertone will look better together. Our free nail color palette finder can help you pick a pair.
How ombre nails are done: salon and at home
- Sponge with polish. Colors are painted onto a makeup sponge and dabbed onto the nail. Cheap, simple and the best method for home.
- Airbrush. Some salons spray thin layers of color with a small airbrush. It gives the smoothest fade.
- Acrylic or dip powder. A technician places pink and white powder so the two blend in the middle. This is a common way to create baby boomer nails on extensions.
- Gel blending. Two gel colors are painted on wet and blended with a brush or sponge before curing. Gel can also be sponged on.
Gel and acrylic products can cause skin allergies in some people. If you do gel ombre at home, keep uncured gel off your skin, cure every layer fully under the lamp, and follow the product instructions. If your skin becomes itchy, red or swollen, stop and see a doctor or dermatologist.
How to do ombre nails at home with a sponge
You need a base coat, two polishes, a top coat, a makeup sponge cut into small pieces, a small brush and remover. Our easy nail art for beginners guide covers the basic tools.
- Prep the nails. Push back cuticles, file the shape and wipe each nail with remover to clear oil.
- Protect the skin. Put tape, a peel-off barrier or a little petroleum jelly around each nail. Keep it off the nail itself.
- Paint a base color. After the base coat, paint one or two coats of the lighter shade and let it dry.
- Load the sponge. Paint the two colors side by side on the sponge, overlapping them slightly in the middle.
- Dab, do not drag. Press the sponge onto the nail and lift it straight off. Move it up and down a tiny bit to soften the middle.
- Build in thin layers. Reload the sponge and dab again two or three times until the fade looks even. Let each layer dry for a moment.
- Clean up. Remove the tape or barrier, then clean any polish on the skin with a small brush dipped in remover.
- Seal it. Apply a thick, glossy top coat and cap the free edge. It smooths the texture the sponge leaves.
Which nail shapes and lengths suit ombre
Ombre needs some room to fade. On medium and long nails, the gradient looks smooth and gradual. On very short nails, keep it to two close shades, such as nude and soft pink, or a tight glitter fade at the tip.
Almond, oval, coffin and ballerina shapes suit ombre well, because the fade follows the narrowing tip and makes nails look even longer. Square and squoval also work, especially for baby boomer nails. Our nail shapes guide compares all the main shapes.
How long ombre nails last
- Regular polish. Often several days to about a week. A fresh layer of top coat every two to three days helps.
- Gel polish. Usually 2 to 3 weeks. See how long gel nails last for details.
- Acrylic. Usually needs a fill every 2 to 3 weeks. The fade often has to be redone at each fill, because new growth appears at the cuticle.
Ombre with a light or nude shade at the cuticle grows out more softly than a solid color, so it often looks fresh for longer.
Fixing common ombre problems
- Streaks or a hard line. Overlap the two colors more on the sponge and dab more layers. Adding a third, in-between shade in the middle also smooths the fade.
- Bubbles. Use a fine, dense sponge and dab gently. A slightly damp sponge, squeezed well, soaks up less polish. Thin layers and a glossy top coat hide most texture.
- Too sheer. Let it dry and add another layer instead of pressing harder.
- Messy cuticles. Use a barrier before you start, and clean up with a small brush and remover before the top coat. With gel, clean the skin before curing.
- Grainy finish. This is normal after sponging. One thick, glossy top coat makes it smooth.
Try your ombre on your own hand
It is hard to picture how two colors will blend on your nails. In the CutieCure app, you can design your own nails by describing a look, such as a pink-to-white baby boomer on almond nails. The AI generates the design on a photo of your own hand in a few seconds, and you can save it to show your technician.
Frequently asked questions
What is the difference between ombre and baby boomer nails?
Ombre is any smooth fade from one color to another. Baby boomer nails are a specific ombre that fades from pink or nude at the cuticle to white at the tip.
How do you do ombre nails at home?
Paint a light base color, then paint two colors side by side on a makeup sponge and dab it onto the nail in thin layers. Clean the skin around the nail and finish with a thick, glossy top coat.
Are ombre nails done with gel or acrylic?
Both. Salons blend gel with a brush or sponge, use acrylic or dip powder for baby boomer extensions, or spray color with an airbrush. At home, regular polish and a sponge work well.
How long do ombre nails last?
Gel ombre usually lasts 2 to 3 weeks, and regular polish often lasts several days to about a week. Acrylic ombre usually needs a fill every 2 to 3 weeks.
Do ombre nails work on short nails?
Yes. Choose two close shades, such as nude and soft pink, or a glitter fade at the tip, so the gradient still looks smooth on a smaller nail.
Preview your ombre before you paint
Free to download. Describe an ombre or baby boomer look in CutieCure and see it generated on a photo of your own hand before you book or pick up a sponge.
Download CutieCure Google PlayRelated guides
- French tip nails: 14 variations
- Easy nail art for beginners
- Glitter nails: 15 holiday ideas
- Nail color palette finder
Related free tools
- Nail color palette finder: Builds a shortlist of polish shades that suit your undertone.
- Online nail designer: Pick a shape, length, color, finish and pattern on an illustrated hand and save the design as an image.